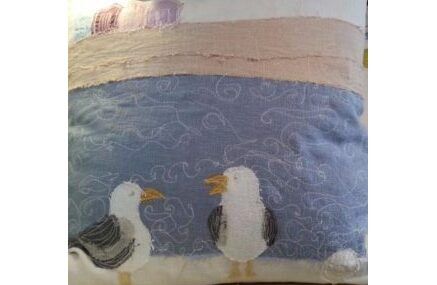
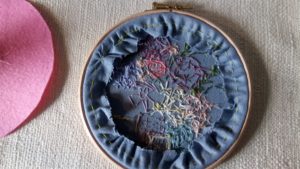
We have recently added some more information to our kits about stretching fabric on your hoop properly before getting started stitching and also about how we like to finish hoops. After all the time and energy lavished on your piece of work, you may as well finish it nicely huh!? You deserve it and so does your artwork! There are numerous ways to back a hoop, but several that I really don't like, (which involve lots of glue and that scares me quite honestly). The thought of glue seeping through the fabric and ruining your stitching.......eeek! There are also other ways which don't use glue in any way at all. This involves securing the backing fabric onto the back of the hoop by blanket stitching all the way around, attaching the felt/ backing to the embroidery work. Of course you may always leave the back of the hoop open so that you can see the stitching on the wrong side of the work, just as long as the fabric is neatly gathered around the hoop!
So, the neatest and simple way I like to finish the back of a piece of hoop art is
as follows:
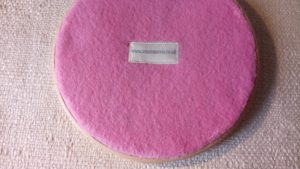
*Firstly, cut your piece of felt to the correct size by drawing around the outer
hoop with a pencil on the felt and then carefully cutting with scissors.
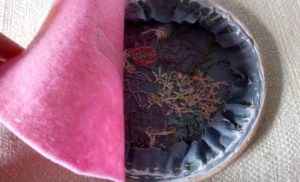
*Next cut down your hooped fabric so there is about an inch seam allowance
around the edge of the hoop.
*Thread up a needle with a length of thread about as long as your forearm and tiea knot in the end.
*Stitch a Running Stitch all around the fabric on the back, just about 1cm in from
the wooden hoop and gently gather up the fabric as you go around. When you get
to the point that you started gently pull the thread tighter to gather the fabric into
a nice tight circle and then secure the thread in that place (finish with a couple ofstitches to secure).
*Apply a thin line of craft glue or PVA around the outer hoop and the fabric thatis over the inner hoop but nowhere else!!!
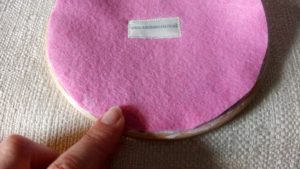
*Lay your felt circle on the back easing it around the circle slightly stretching it toensure a nice flat backing. Trim any excess when the glue has dried and voila!
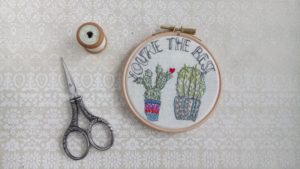
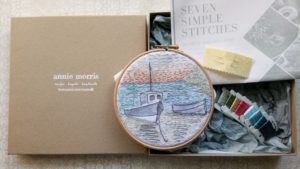
In our Embroidery Kits you will find a guide about how to create Seven Simple Stitches, a guide about How to Stretch your fabric before you get started and this guide about backing your hoop art in a simple way. I do hope you like them. We would love to see what you do with our embroidery kits and printed linen designs. If you would like to share your work with us, do email us pictures or you can share any imagery on social media using the hashtag #anniemorrisdiy #anniemorrisembroiderykits